How to Replace Rv Flooring?
If you own an RV, you know that over time the flooring can become worn out and in need of replacement. Whether you’re looking to update the look of your RV or simply want to address any damage, replacing the flooring is a great way to give your RV a fresh new look. In this article, we will guide you through the process of replacing your RV flooring, from choosing the right materials to the actual installation.
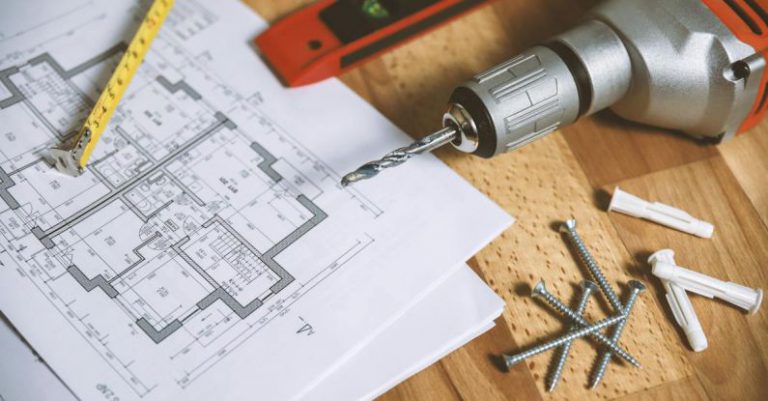
Choosing the Right Materials
The first step in replacing your RV flooring is to choose the right materials. Since RVs are constantly subjected to different temperatures and levels of humidity, it’s important to select flooring materials that are specifically designed for this type of environment. Vinyl, laminate, and engineered wood are popular choices for RV flooring due to their durability and resistance to moisture. Additionally, these materials are lightweight, which is crucial for an RV where every pound counts.
Preparing the RV
Before you begin the installation process, you’ll need to prepare your RV. Start by removing any furniture or appliances that may obstruct your work area. Next, remove the old flooring by carefully pulling it up or using a floor scraper. Make sure to remove any adhesive residue or nails from the subfloor. It’s important to have a clean and smooth surface for the new flooring to adhere to.
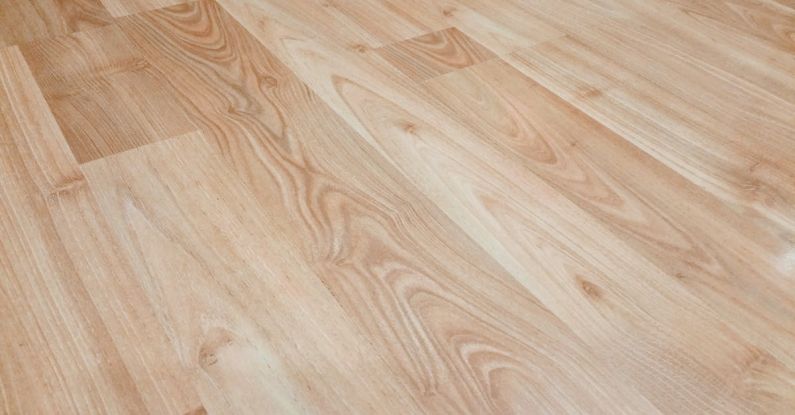
Installing the New Flooring
Now that your RV is prepped and ready, it’s time to install the new flooring. Begin by measuring and cutting the flooring material to fit the dimensions of your RV. It’s important to be precise with your measurements to ensure a seamless installation. Once you have the pieces cut, carefully lay them down, starting from one corner of the RV and working your way towards the other side. For larger areas, you may need to use adhesive to secure the flooring in place. Follow the manufacturer’s instructions for the specific adhesive you are using.
Finishing Touches
After the new flooring is installed, it’s time to add the finishing touches. This includes reinstalling any furniture or appliances that were removed during the preparation stage. Take your time to properly secure them in place to prevent any shifting while you’re on the road. Additionally, consider adding baseboards or trim to give your RV flooring a polished look. This will also help to hide any gaps between the flooring and the walls.
Maintenance Tips
To keep your new RV flooring looking its best, it’s important to follow some maintenance tips. Sweep or vacuum the floor regularly to remove any dirt or debris. Use a mild cleaning solution specifically designed for your flooring material to clean up any spills or stains. Avoid using abrasive cleaners or tools that could damage the flooring. Additionally, consider using rugs or mats in high-traffic areas to minimize wear and tear.
Conclusion
Replacing your RV flooring is a great way to update the look of your RV and address any damage. By choosing the right materials, preparing your RV properly, and following the installation steps carefully, you can easily replace your RV flooring. With proper maintenance, your new flooring will continue to look great for years to come. So, don’t wait any longer, give your RV a fresh new look by replacing the flooring today!