How to Install Solar Panels on Your Rv?
If you’re an avid traveler who enjoys spending time on the road in your RV, you might be interested in exploring alternative energy sources to power your adventures. Solar panels offer an efficient and eco-friendly solution to harnessing the power of the sun and providing electricity to your RV. Installing solar panels on your RV is a straightforward process that can be done by following a few simple steps. In this article, we will guide you through the process of installing solar panels on your RV, ensuring that you can enjoy the benefits of solar energy during your travels.
Assessing Your Power Needs
Before diving into the installation process, it’s essential to assess your power needs to determine the number and size of solar panels required. Start by examining your RV’s current power consumption and the appliances you typically use. This information will help you determine the wattage needed for your solar panels. Additionally, consider the available space on your RV’s roof to determine how many panels can be installed.
Choosing the Right Solar Panels
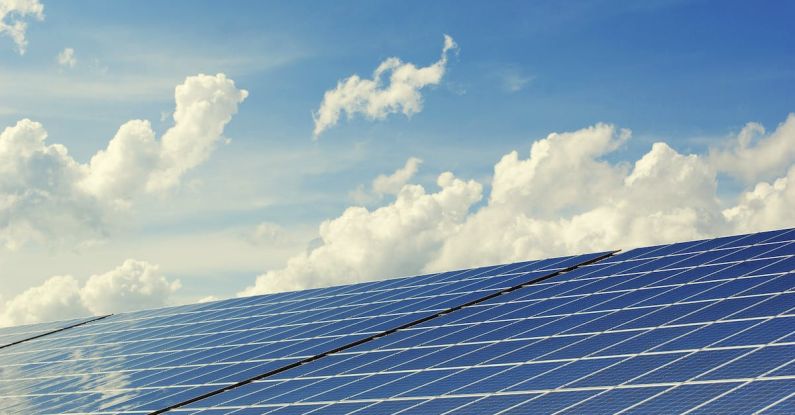
When it comes to selecting solar panels for your RV, there are various options available on the market. Monocrystalline and polycrystalline panels are the most common types. Monocrystalline panels are more efficient and take up less space, while polycrystalline panels are more affordable. Consider your budget, power requirements, and available space before making a decision.
Installing the Mounting Brackets
Once you have chosen the right solar panels for your RV, it’s time to install the mounting brackets. Start by cleaning the area on your RV’s roof where the panels will be installed. Use a degreaser and a clean cloth to remove any dirt or grime. Next, position the mounting brackets according to the solar panel manufacturer’s instructions and mark the screw hole locations. Drill pilot holes and secure the brackets using the provided screws.
Attaching the Solar Panels
With the mounting brackets in place, it’s time to attach the solar panels. Carefully lift the panels onto the brackets and align them properly. Secure the panels to the brackets using the provided bolts or screws, ensuring they are firmly attached. Double-check the alignment and tighten all the fasteners to prevent any movement during travel.
Wiring the Solar Panels
After the panels are securely attached, it’s time to wire them to the RV’s electrical system. Start by running the solar panel wires to the desired location near the batteries. Ensure that the wires are protected and secured throughout the installation process. Connect the positive and negative wires from the solar panels to the charge controller, following the manufacturer’s instructions. Then, connect the charge controller to the batteries using appropriate wire gauges for optimal performance.
Monitoring and Maintenance
Once the installation is complete, it’s crucial to regularly monitor and maintain your solar panels to ensure optimal performance. Regularly check for any loose connections, debris, or damage to the panels. Clean the panels periodically with a non-abrasive cleaner and a soft cloth to remove any dirt or grime. Additionally, keep an eye on the charge controller and batteries to ensure they are functioning correctly.
In conclusion, installing solar panels on your RV can provide a sustainable and reliable source of electricity during your travels. By assessing your power needs, choosing the right panels, and following the installation steps, you can enjoy the benefits of solar energy while on the road. Remember to regularly monitor and maintain your solar panels to ensure their longevity and efficiency. So, what are you waiting for? Start harnessing the power of the sun and embark on your next adventure with confidence!